
AAR: ASL Corregidor: the Rock Scenarios 4 and 10
My ASL friend Doug and I set aside two days at a recent gaming retreat to play the linked scenario campaign in Corregidor: the Rock. This is a highly rated and newish historical ASL (HASL) module focusing primarily on the return of the Americans to the Philippines in 1945. This would be Doug’s first play of a Pacific Theater of Operations (PTO) scenario so he decided to play the Japanese side to better understand their nationality specific rules.
There are two campaign options to consider. The first and primary option is a traditional ASL campaign that starts from an initial state and involves several days of game play (in the ASL universe) with reorganization phases between days that allow for different roster purchases by the two players. The second and more flexible (shorter) option is a series of linked scenarios that each stand alone but still walk through the narrative of the 1945 campaign. Given we had only two days to work with we opted for the linked scenarios.
CtR–4 Return to the Rock
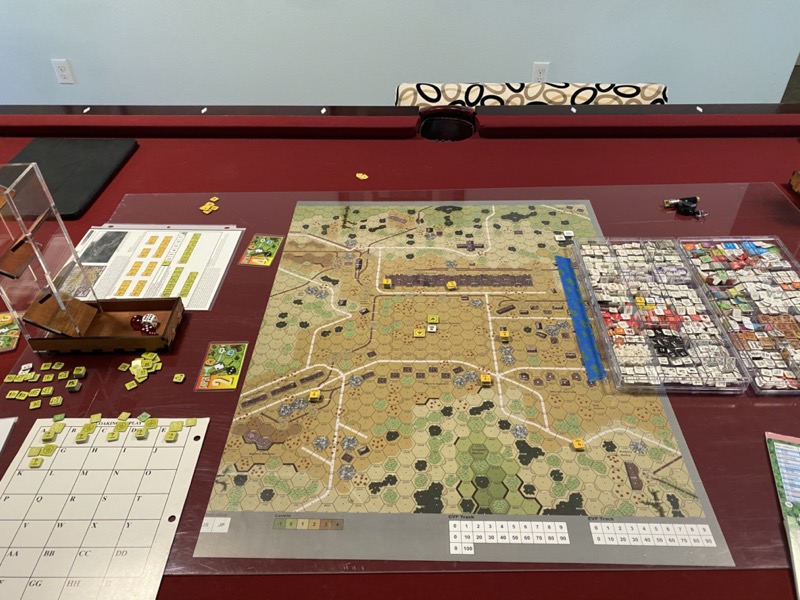
Our first scenario was CtR–4 Return to the Rock, in which the Americans try to conduct airborne landings on Corregidor in advance of the amphibious invasion scheduled to commence two hours later. As the Americans I got to conduct my first ever air drops in an ASL game. How fun! I couldn’t wait to land my 18 squads of elite US Army troops on the rock. Little did I know how much of a bloodbath this would be.
I had to arrange my 18 squads, scheduled to arrive in 3 batches of 6 over the first three turns, into 6 different paradrop wings comprised of 3 squads each. Predesignating these drop points turned out to be a big challenge and, ultimately, an unmitigated disaster for the Americans. The problem is this: with the heavy winds present, the error bands on these drops become both extremely large and unpredictable. Knowledge of the wind direction doesn’t even help much here, as the errors just get magnified even more without regard for wind direction. About the only somewhat predictable event in the drop was where the support weapons would drop as they generally drifted with the wind.
So why are these errors a big deal? First, drops can easily drift off the playing area in this smallish map. Those troops are eliminated immediately. I think I lost about 1/5 to 1/6 of my squads this way. Second, they very easily drift near the buildings and light jungle present. Because of the high winds present, when you land on or near these obstacles the unit takes a 2MC for the landing hex plus any adjacent hex. It wasn’t unusual for a leader or squad to be taking 3 or 4 2MC when landing. With a base morale of 7 (both the unit and the masked drop marker), this meant likely multiple break events and therefore step reductions. Oh, and I rolled a few 12s along the way.
This would be bad enough if there weren’t Japanese shooting at you. But they were of course, so units that weren’t impaling themselves on jungle bamboo were getting shot up by the Japanese. By the end of turn 3, all six of my leaders were eliminated and I believe I had only 4 or 5 squad equivalents left. Several of them were broken and with no leaders around to rally them, I was looking at a very slow return to fighting order. Resignation ensued.
A Bounding Fire Productions representative has done an excellent job on GameSquad providing errata and answering questions on this campaign. He also mentioned that casualty rates of 70% for the American airdrops were not unusual during this campaign, so my numbers are not too far off that. What I don’t understand is how the Americans are supposed to assemble a fighting force to oust roughly 10 Japanese squad equivalents. I’d consider playing it again to see if I can manage the airdrops more effectively, but Doug and I agreed that this may be a 1 in 10 or even 1 in 20 chance for the Americans to win.
CtR–10 Par for the Course
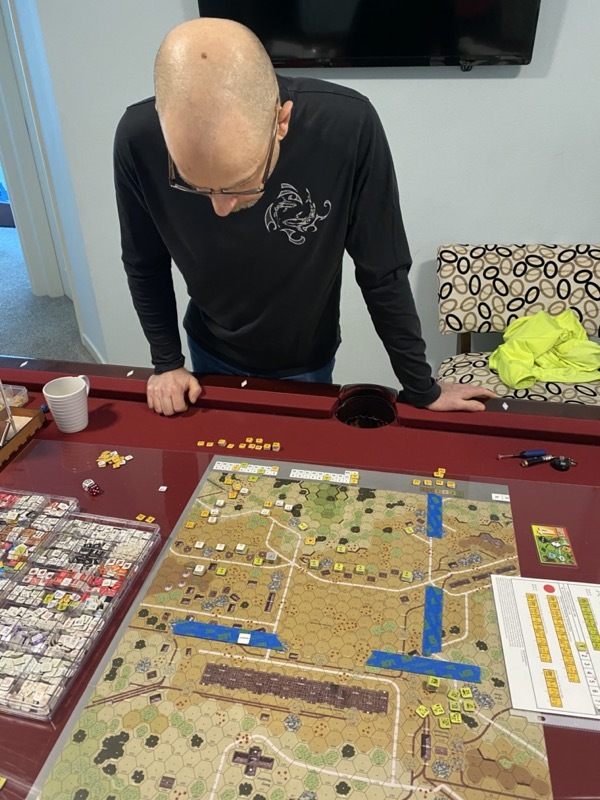
The next scenario was a more traditional defensive position setup (American) vs. an attacker (Japanese) coming on the board. I did a rough count of attacker vs. defensive squad and firepower counts to anticipate balance and challenges for each side. Let’s have a look:
- Americans with 18.5 squad equivalents to 29 for the Japanese
- Americans with 129 firepower in its squads to 116 for the Japanese
Hmmm. I’m used to 2x or 3x for the attacker, but maybe this will be different because of the Japanese “striping” (aka step reduction rather than breaking). I think not though: the Americans get a hidden big mortar and Howitzer, plus plenty of boresighting.
The terrain doesn’t make it easy for the Japanese. They come up in a depression and have a decent amount of open ground to cross (some of it is the base golf course). I think Doug did a fine job managing his forces, but perhaps he wasn’t aggressive enough. When he did get aggressive, I was able to put some real hurt on him and was able to deflect his last big push up the hill with a good mix of spray fire, residual fire, and point black fire from those deadly American 7–4–7s. Similar to the first scenario we played, the attacker resigned after about 4 turns.
I’m not going to give up on this set but I do wonder if those linked scenarios are setup to give automatic wins to the defender for the firs two gos. Either way I’m not thrilled about it (intentional or unintentional balance), so if we play this again I’ll seek out another scenario or try out the full campaign.